Instructions
This document provides detailed instructions for using the OMERO system via the web interface and desktop application, including data organization, user management, and essential platform functionalities.
1. User Registration
To use the OMERO system, you must first register a user account. Follow these steps to register:
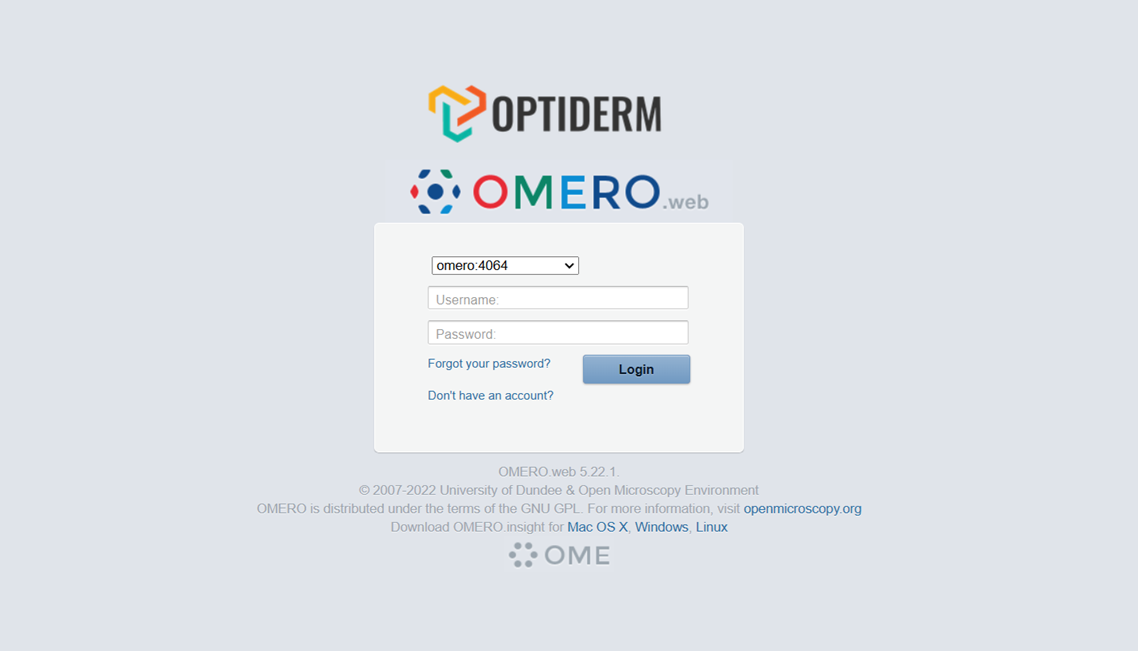
- Open the OMERO web interface and click on "Don't have an account?" on the login page.
- Fill in the registration form with the following details:
- Full name
- Email address
- Affiliated institution
- After completing the required fields, click "Create account".
- Upon successful registration, you will receive a username and a temporary password.
- For security reasons, it is recommended to change the temporary password after the first login.
Forgotten Password?
- If you forget your password, click on "Forgot your password?" on the login page.
- Follow the instructions to reset your password via email.
Access Permissions After Registration
After registration, the user is automatically assigned to the "pending_users" group, where they cannot view or create images. To gain full access to OMERO and its tools, the user must request to be moved to the "contributors" group. To request access, the user must contact the administrator via email at: ivan.stajduhar@riteh.uniri.hr.
2. Basic Navigation and Using the OMERO Interface
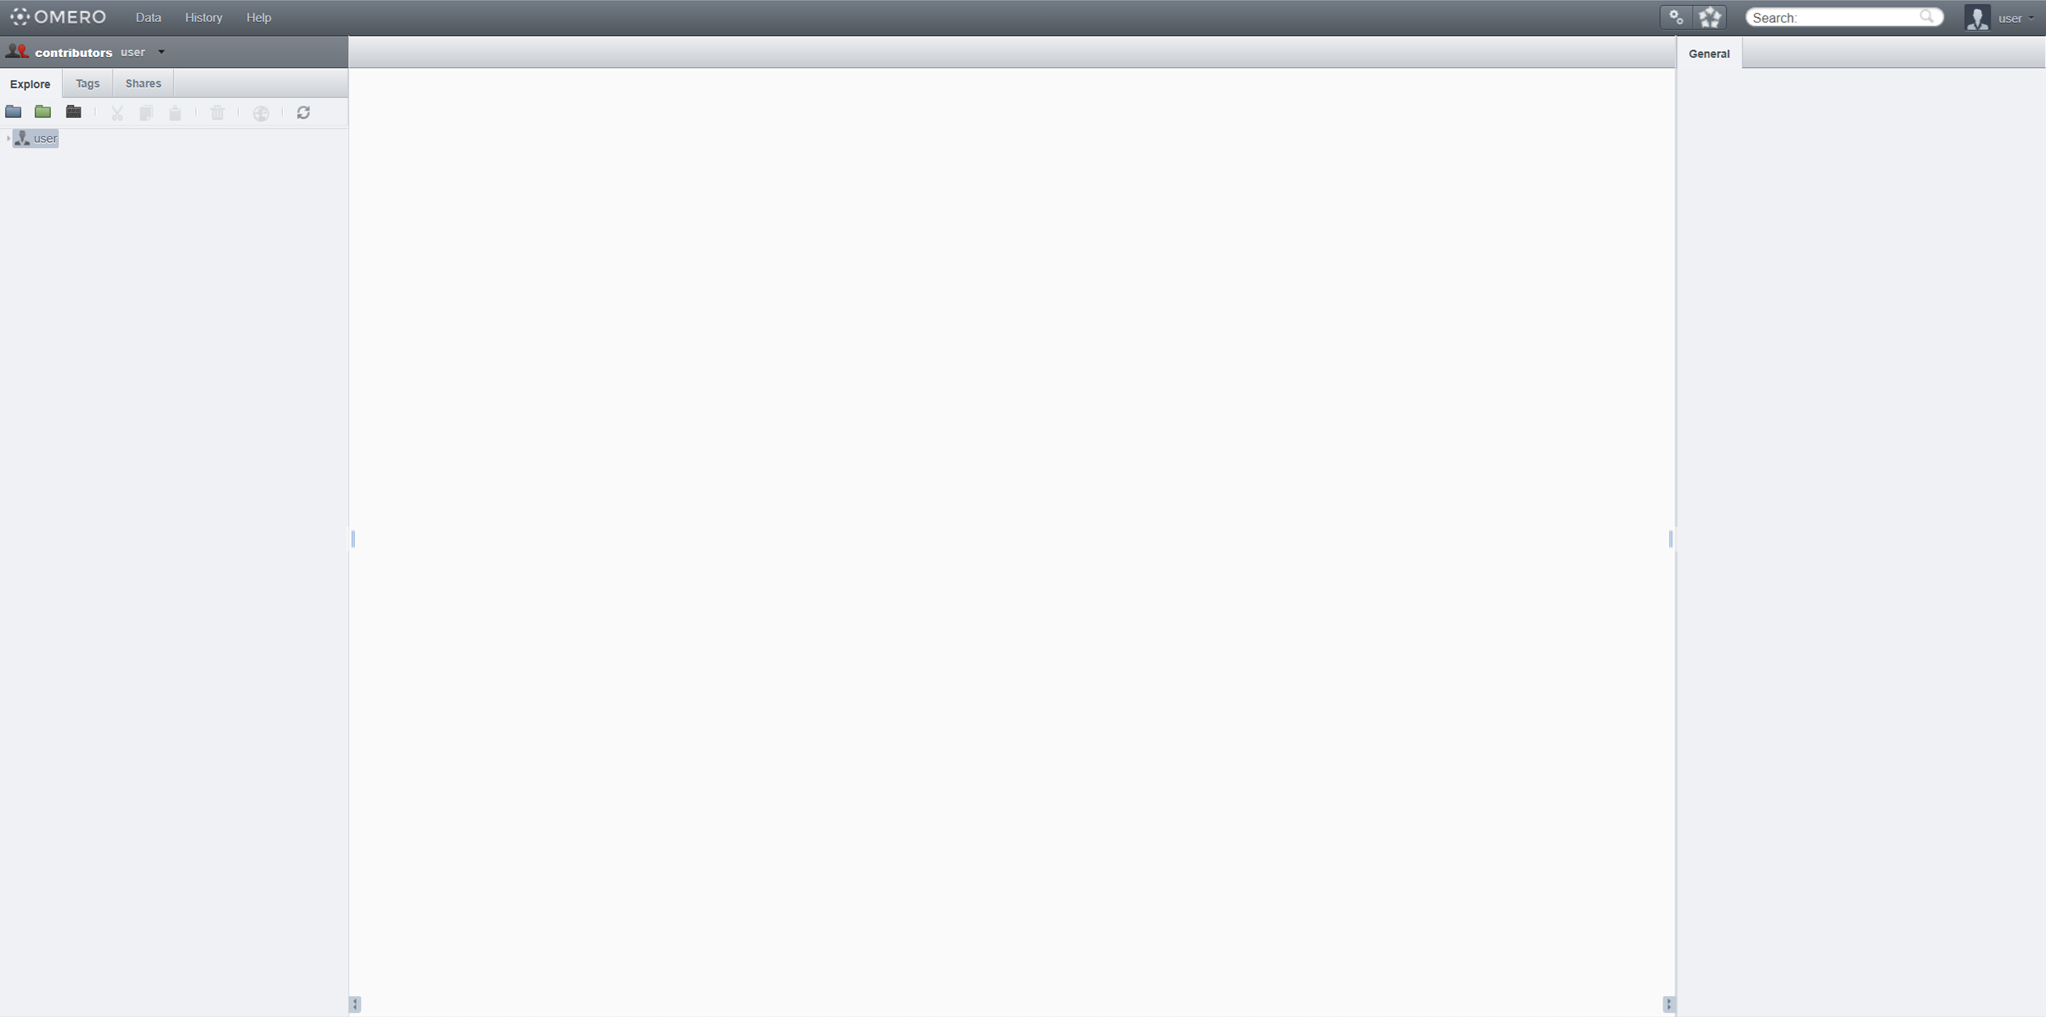
Once logged into the OMERO web interface, users can manage their data through an intuitive interface. Below are the key elements for navigation and using the OMERO system.
2.1 Selecting a Group for Viewing Data
If a user belongs to multiple groups, they can choose which group's data to view by following these steps:
- Click on the currently active group in the top right corner of the interface.
- A dropdown menu will appear with a list of all groups the user belongs to.
- Clicking on a group updates the data display, showing only the data within that group.
After selecting a group, the user will see only those projects, datasets, and images that are available within that group, depending on the assigned permissions.
2.2 Creating New Projects, Datasets, and Screens
OMERO uses a hierarchical structure for data organization. The primary organizational elements are:
Project – The highest level of organization, containing datasets.
Dataset – A collection of images within a project.
Screen – Used for high-throughput experiments.
How to Create a New Object?
- Click "Create New" at the top of the interface.
- Select Project, Dataset, or Screen.
- Enter a name and an optional description.
- Click "Save".
Notes:
- All data is organized hierarchically, so when adding new images, ensure they are placed in the correct dataset.
- Images cannot be added directly to a project – they must be stored within a dataset.
- If you are in a Read-Write group, all members can collaborate on the same projects and datasets.
- If you belong to multiple groups, make sure you have selected the correct group before adding data.
3. Uploading Images to OMERO
Images can only be uploaded using the OMERO desktop application, which can be downloaded from the official website: OMERO Downloads
3.1 Logging In
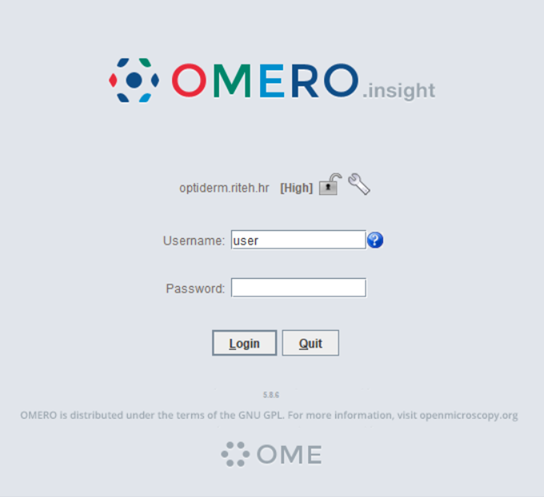
- Open the OMERO desktop application.
- Select "Enter the server's address".
- In the server address field, enter: optiderm.riteh.hr.
- Enter your username and password.
- Click "Login" to access the system.
3.2 Uploading an Image
- In the top-right corner of the application, click "Open the Importer".
- Locate the desired image on your computer and select it.
- Click the arrow "Add the selected files to the queue".
- In the next window, select the project and dataset where the image will be stored.
- Click "Import" to start the upload process.
- After the upload is complete, click "Close".
4. Using python scripts to upload and download Datasets
This section outlines how to use existing python scripts to easily download or upload datasets to the omero server. If you want to download/upload individual images, please refer to section 3.
4.1 Setting up the Python environment
- Create and activate a Python virtual environment. Any standard Python virtual environment tool (e.g.
venv,virtualenv, Conda) can be used; here we show an example usingpython -m venv:python3 -m venv venvsource venv/bin/activate - Download the pre-built Ice binaries for OMERO appropriate for your python version from: https://www.glencoesoftware.com/blog/2023/12/08/ice-binaries-for-omero.html.
- Install the
.whlfile using the following command, replacing the path with the actual location of your downloadedzeroc_ice.whlfile:pip install /path/to/zeroc_ice.whl - Install the
omero-pyandomero-uploadpackages:pip install omero-py omero-upload
4.2 Downloading a dataset
download_dataset_by_id.py connects to the OMERO server, downloads every original image file in a specified dataset and any file attachments attached to those images. Each image is saved in its own folder named Image_<id>_<image_name>, and attachments go into an attachments subfolder. The server host and port are fixed inside the script.The script requires two command-line arguments, in this order:
dataset_id- the numeric OMERO dataset ID you want to download.
You can find the dataset ID either in OMERO.web or in the OMERO desktop client: open the interface, navigate to the desired dataset, and read the ID from the panel on the right-hand side of the UI.download_directory- path to the local folder where downloads will be stored.
Step by step: how to use
- Activate the installed virtual environment (section 4.1) and run the script
python3 download_dataset_by_id.py <dataset_id> <download_directory> - Enter credentials when prompted.
- Wait for the download to finish.
- The script prints the connection status, how many images were found, and progress messages after each downloaded file.
- When finished
- The script prints
Connection closedand exits. - Inspect the
download_directoryto verify files.
- The script prints
4.3 Uploading a dataset
upload_dataset.py connects to the OMERO server and uploads a local dataset into an existing OMERO dataset.
For each subfolder inside the local dataset folder it:
finds the single main image (allowed formats:
.png,.dcm)imports that image into the given OMERO dataset
then uploads any files found in an optional
attachmentssubfolder and links them to the imported image
The server host and port are fixed inside the script.
The script requires two command-line arguments, in this order:
dataset_id- the numeric OMERO dataset ID you want to upload to.
You can find the dataset ID either in OMERO.web or in the OMERO desktop client: open the interface, navigate to the desired dataset, and read the ID from the panel on the right-hand side of the UI. Or create a new dataset (section 2.2) and upload to its ID.dataset_directory- local path to the dataset folder that contains the subfolders to upload.
Dataset structure
The script expects one dataset folder (argument 2) which contains one or more subfolders. Each subfolder represents one image + optional attachments. Before uploading anything, the script validates that the dataset folder adheres to the following structure rules:
Parent folder:
dataset_folder/contains one or more subfolders (each subfolder is processed independently)
Each subfolder MUST contain exactly one main image file with an extension that is allowed (
.pngor.dcm). Generaly, any file type supported by OMERO can be used as the main image. You can modify the list of allowed extensions within theupload_dataset.pyfile.Each subfolder may contain a directory named
attachments/. Any files insideattachments/will be uploaded and attached to the imported image. For example, if you are working with a hyperspectral dataset, you can place a converted.pngfile in the subfolder as the main image while storing the original hyperspectral data files inside theattachments/directory. When the script runs, it uploads the.pngfile as the primary image and automatically attaches all files from theattachments/directory to that image within OMERO.
Example of a valid dataset folder structure:
my_local_dataset/
        ├─ case001/
        │  ├─ image.png            <-- main image
        │  └─ attachments/
        │     ├─ hsi_image.mat
        │     ├─ segmentation_map.png
        │     └─ normalized_hsi.mat
        ├─ case002/
        │  ├─ scan.dcm             <-- main image
        │  └─ attachments/
        │     └─ extra_data.csv
        └─ case003/
           └─ sample.png           <-- main image
Step by step: how to use
- Activate the installed virtual environment (section 4.1) and run the script:
python3 upload_dataset.py <dataset_id> <dataset_directory> - Enter the credentials when prompted
- Wait for the files to upload.
- The script prints the connection status, how many subfolders there are to process, and progress messages before and after each uploaded file.
- When finished
- The script prints
Connection closedand exits. - Inspect the
Omero clientto verify files.
- The script prints